 Tile Installation Guidelines
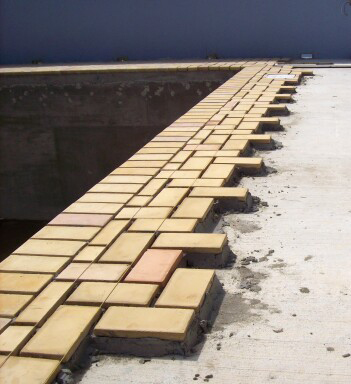
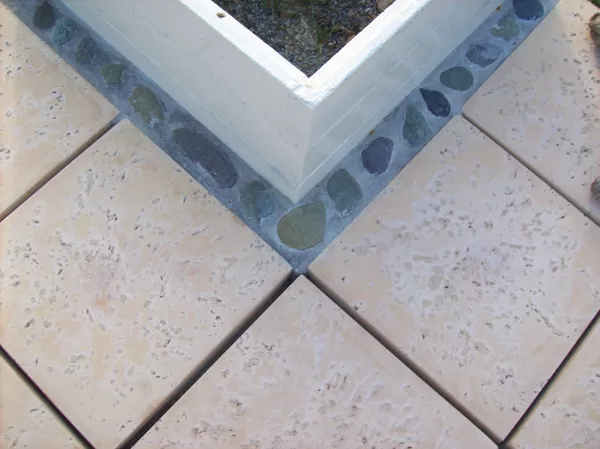
Taylor Tile can be installed in a variety of patterns using cut tile pieces and whole tile, or in regular rows. Different colors can be added for accent borders, mosaic centerpieces, or thresholds. Design possibilities are extensive, and indeed are a major benefit of using locally handmade tile. Custom tile can usually be molded in the color of your choice.
The 8" X 8" tile are molded with flat sides and can fit together with a very small grout joint - 3/32" or less. The larger tile have rounded edges and are slightly beveled to provide for a grout joint of 3/8" to 1/2". Larger grout joints do not usually look as good or last as long as smaller ones, and finishing the joint by striking it with a convex rodding tool to slightly compress and smooth the joint gives the best effect and the strongest joint.
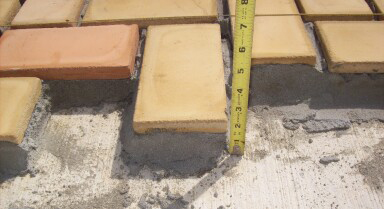
On a slab that needs elevation corrections, our tile and brick should be laid on a mortar bed, to a string that can correct the height of the tile as well as the in-line placement. See Brick installations for a good mortar recipe.
On a good slab, Taylor Tile should be laid with thin set using a 1/2" or 3/8" notched trowel. Thin set must be applied to both the floor and the bottom of the tile to ensure a good bond and leveling bed. It is not recommended that the tile be beaten with a mallet of any kind. Seat and level them with a twisting motion and hand pressure only as with marble, limestone, or quarry tiles. Clean frequently as you go with a damp sponge. The 12" tile can be laid to a string stretched tightly every 12 1/4"; the module for the 18" tile is 18 3/8". Setting one side of the tile to this string will ensure nicely spaced tile, and the slight hand made discrepancies between the tiles will add to the pleasing effect.
The next day, the exterior clean, dry tiles may be lightly sealed with a siloxane penetrating sealer (available from Taylor Studios). Interior tiles should be clean and dry, and unsealed. The tiles can then be grouted: fill the joints with a stiffly pourable cement and sand grout mix, which should be pigmented to match the tiles. Fill a small, connected area of joints at a time, overfilling slightly to allow for slump in this wet mix. The joint can be rodded, smoothed, and compressed with a tool bent from a 3/4" pvc pipe. When the grout filling is no longer wet, but just damp and workable, a damp sponge or the edge of your trowel does a good job of cleaning any crust that may be left on the edge of the tile. It is important to realize that smearing the grout over the entire tile will not work, as the texture of the exterior tile surface may be ruined. Don't let the grout dry out on the tile surface. Keep the interior and exterior tile surfaces very clean as you go.
After the tiles are grouted, they should be wiped thoroughly clean and sealed (again, in the case of exterior tile). Interior acrylic sealers (Treewax brand has some good products) will give you a shiny, mop-able finish; but care must be taken that the tile are thoroughly dry, both on top and below, before they are sealed. Water based acrylic sealers have been known to crack off or peel when excessive moisture is present. There are petroleum based acrylic sealers available, but they are tricky to use and should be left to the professionals.
Both acrylic sealers, waxes, and siloxane sealers should be resealed as necessary, perhaps as often as every year. If the exterior tile darken when wet with water, they need to be resealed. If the interior tile are scuffed and scratched, especially in high traffic areas, they need to be resealed.
We recommend hiring an experienced professional tile setter, and we are, of course, available for consultation.
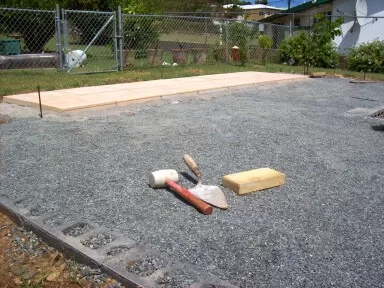
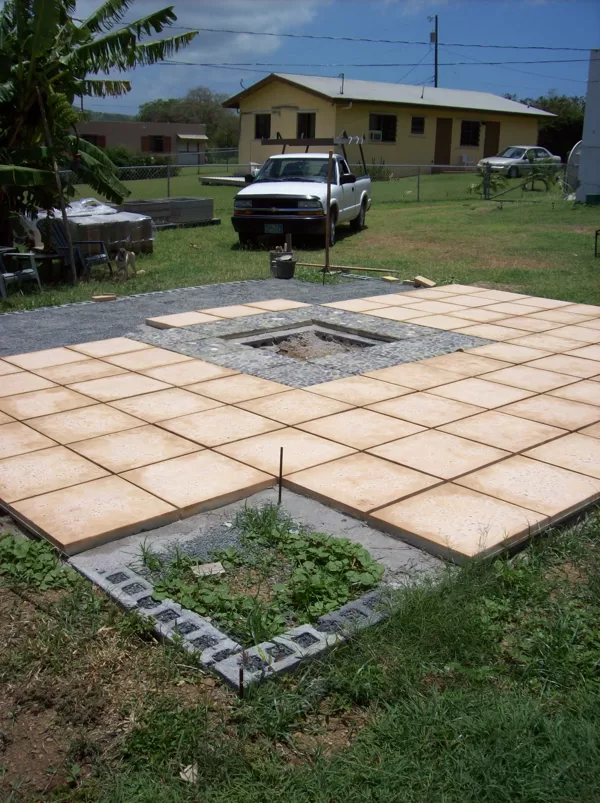
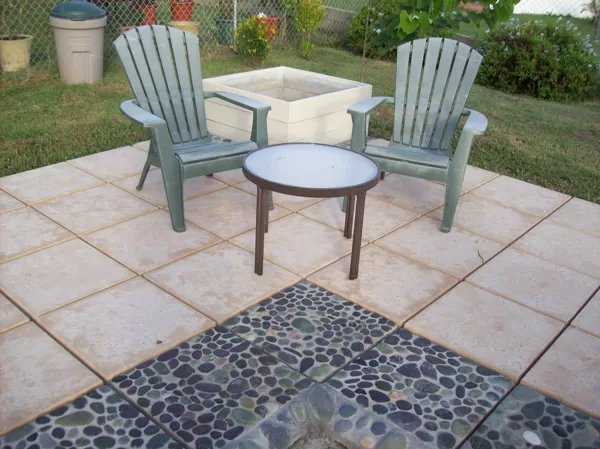
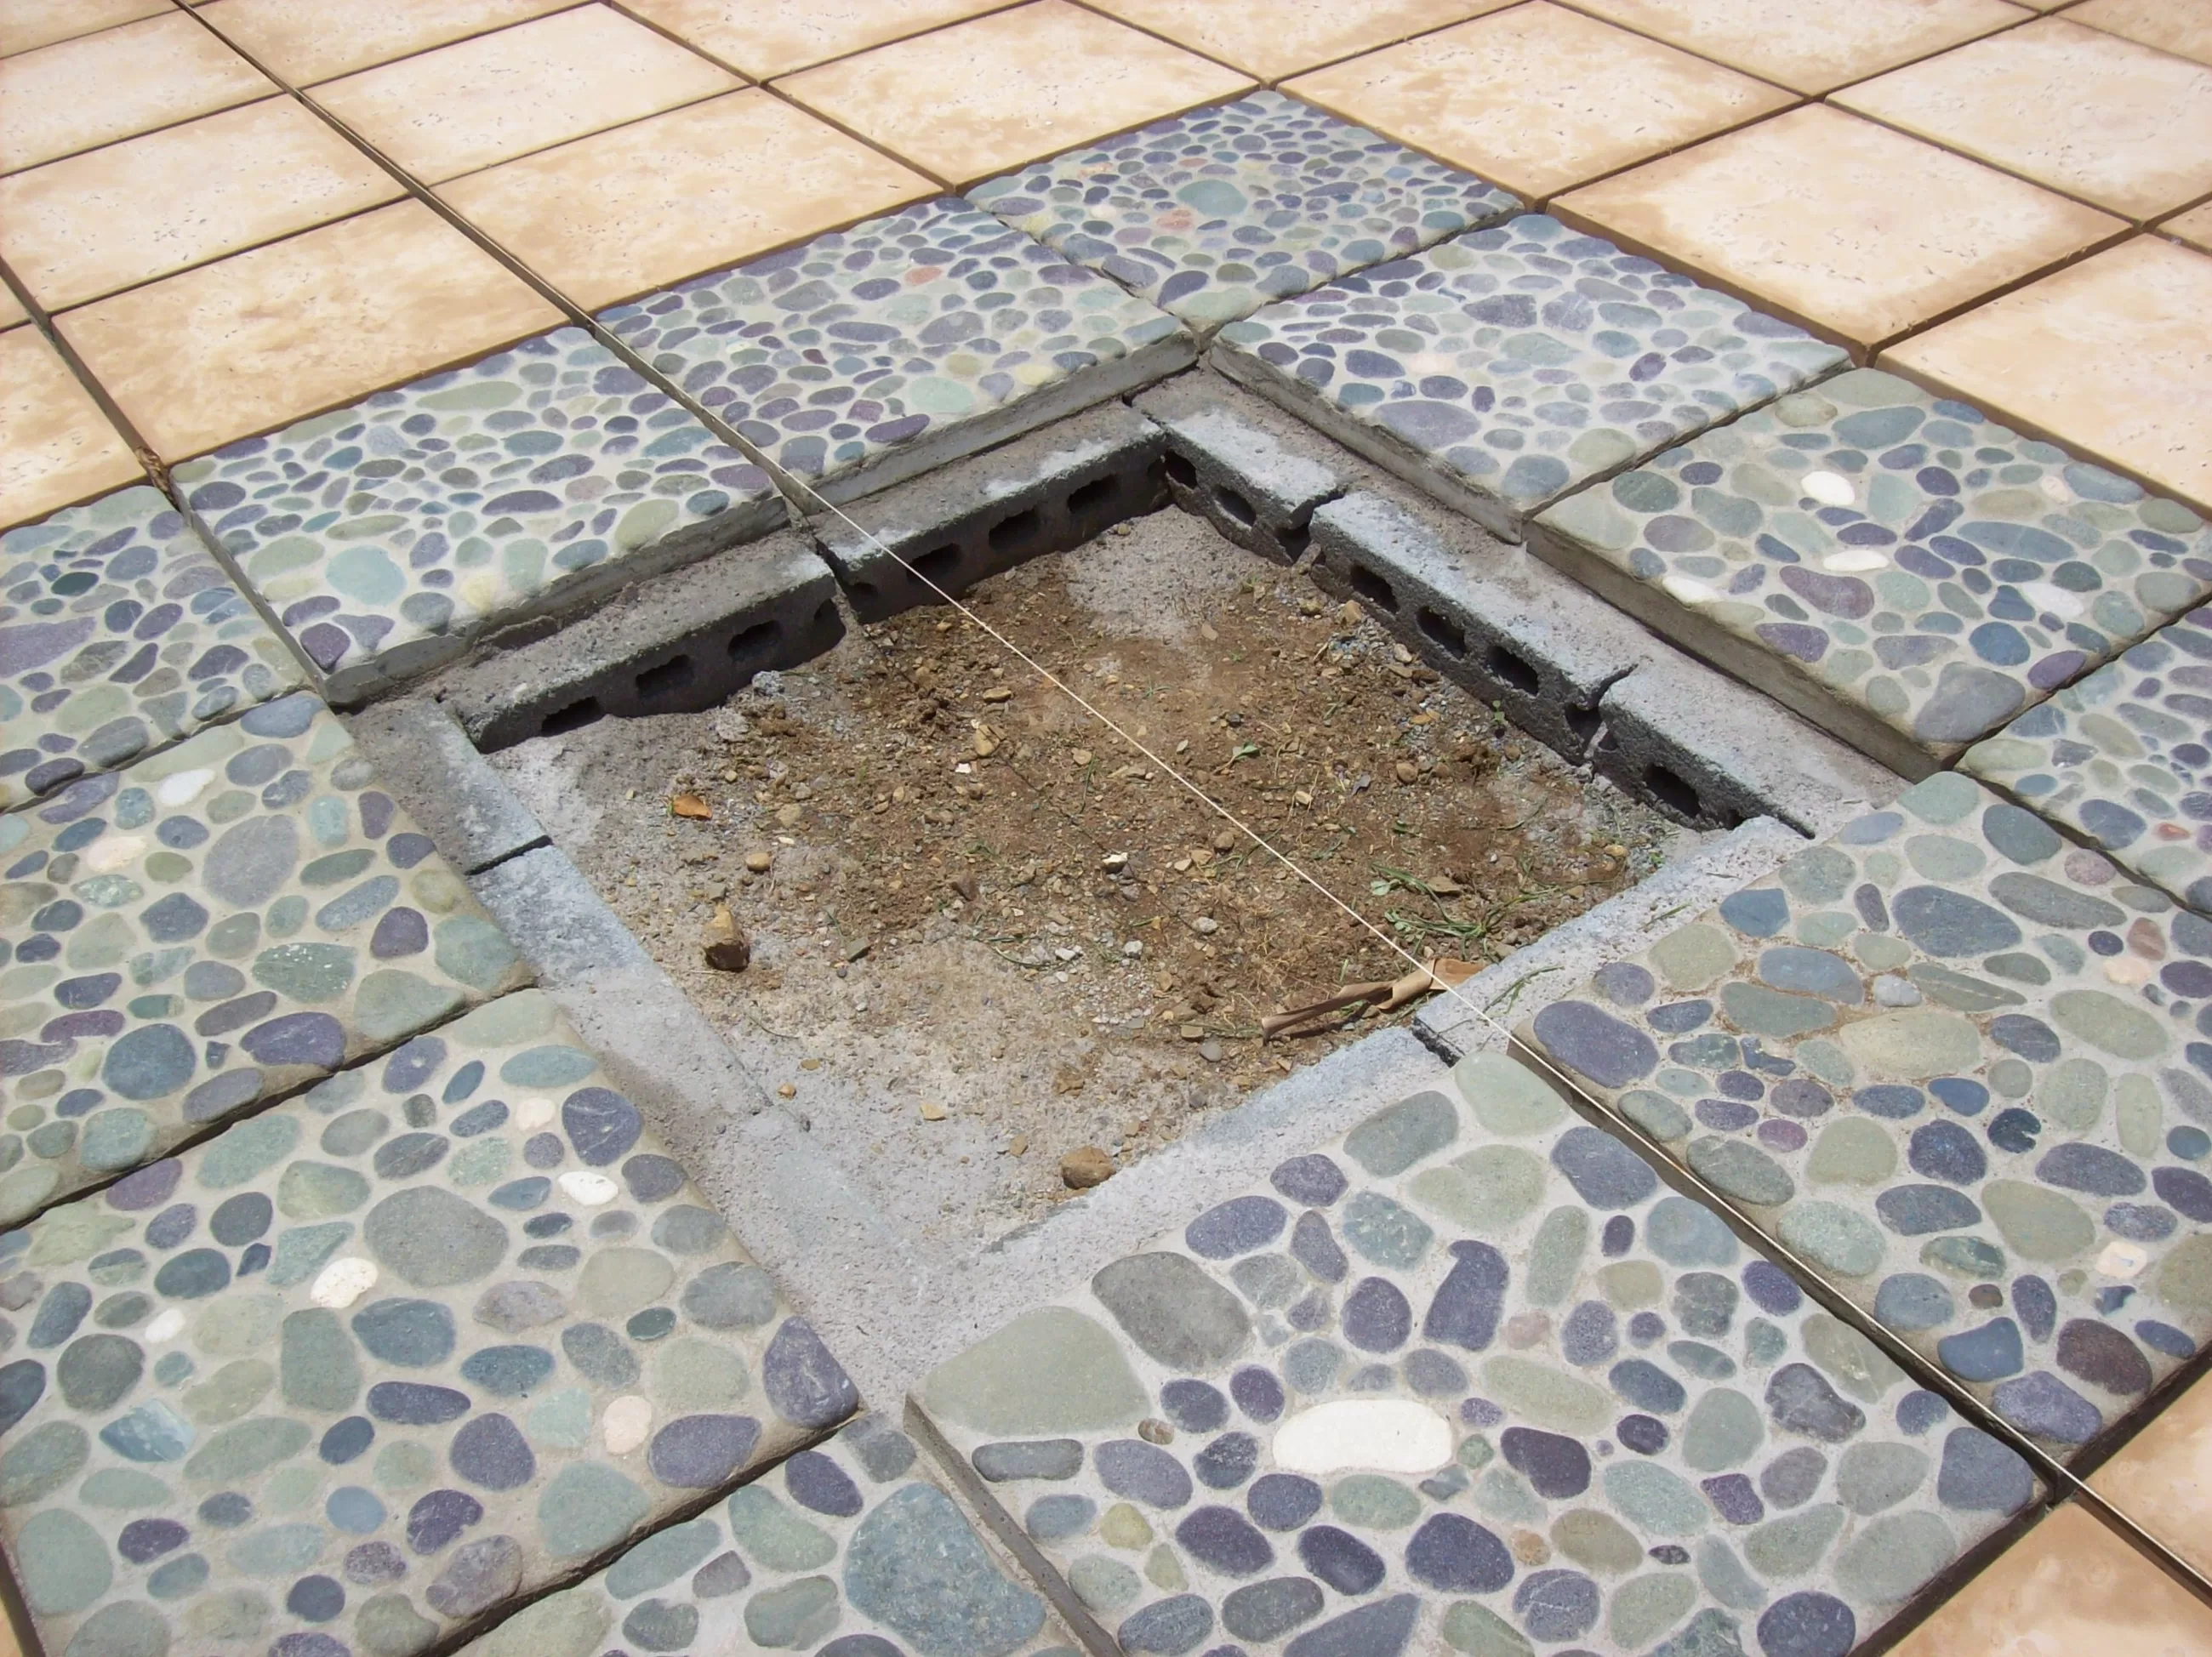
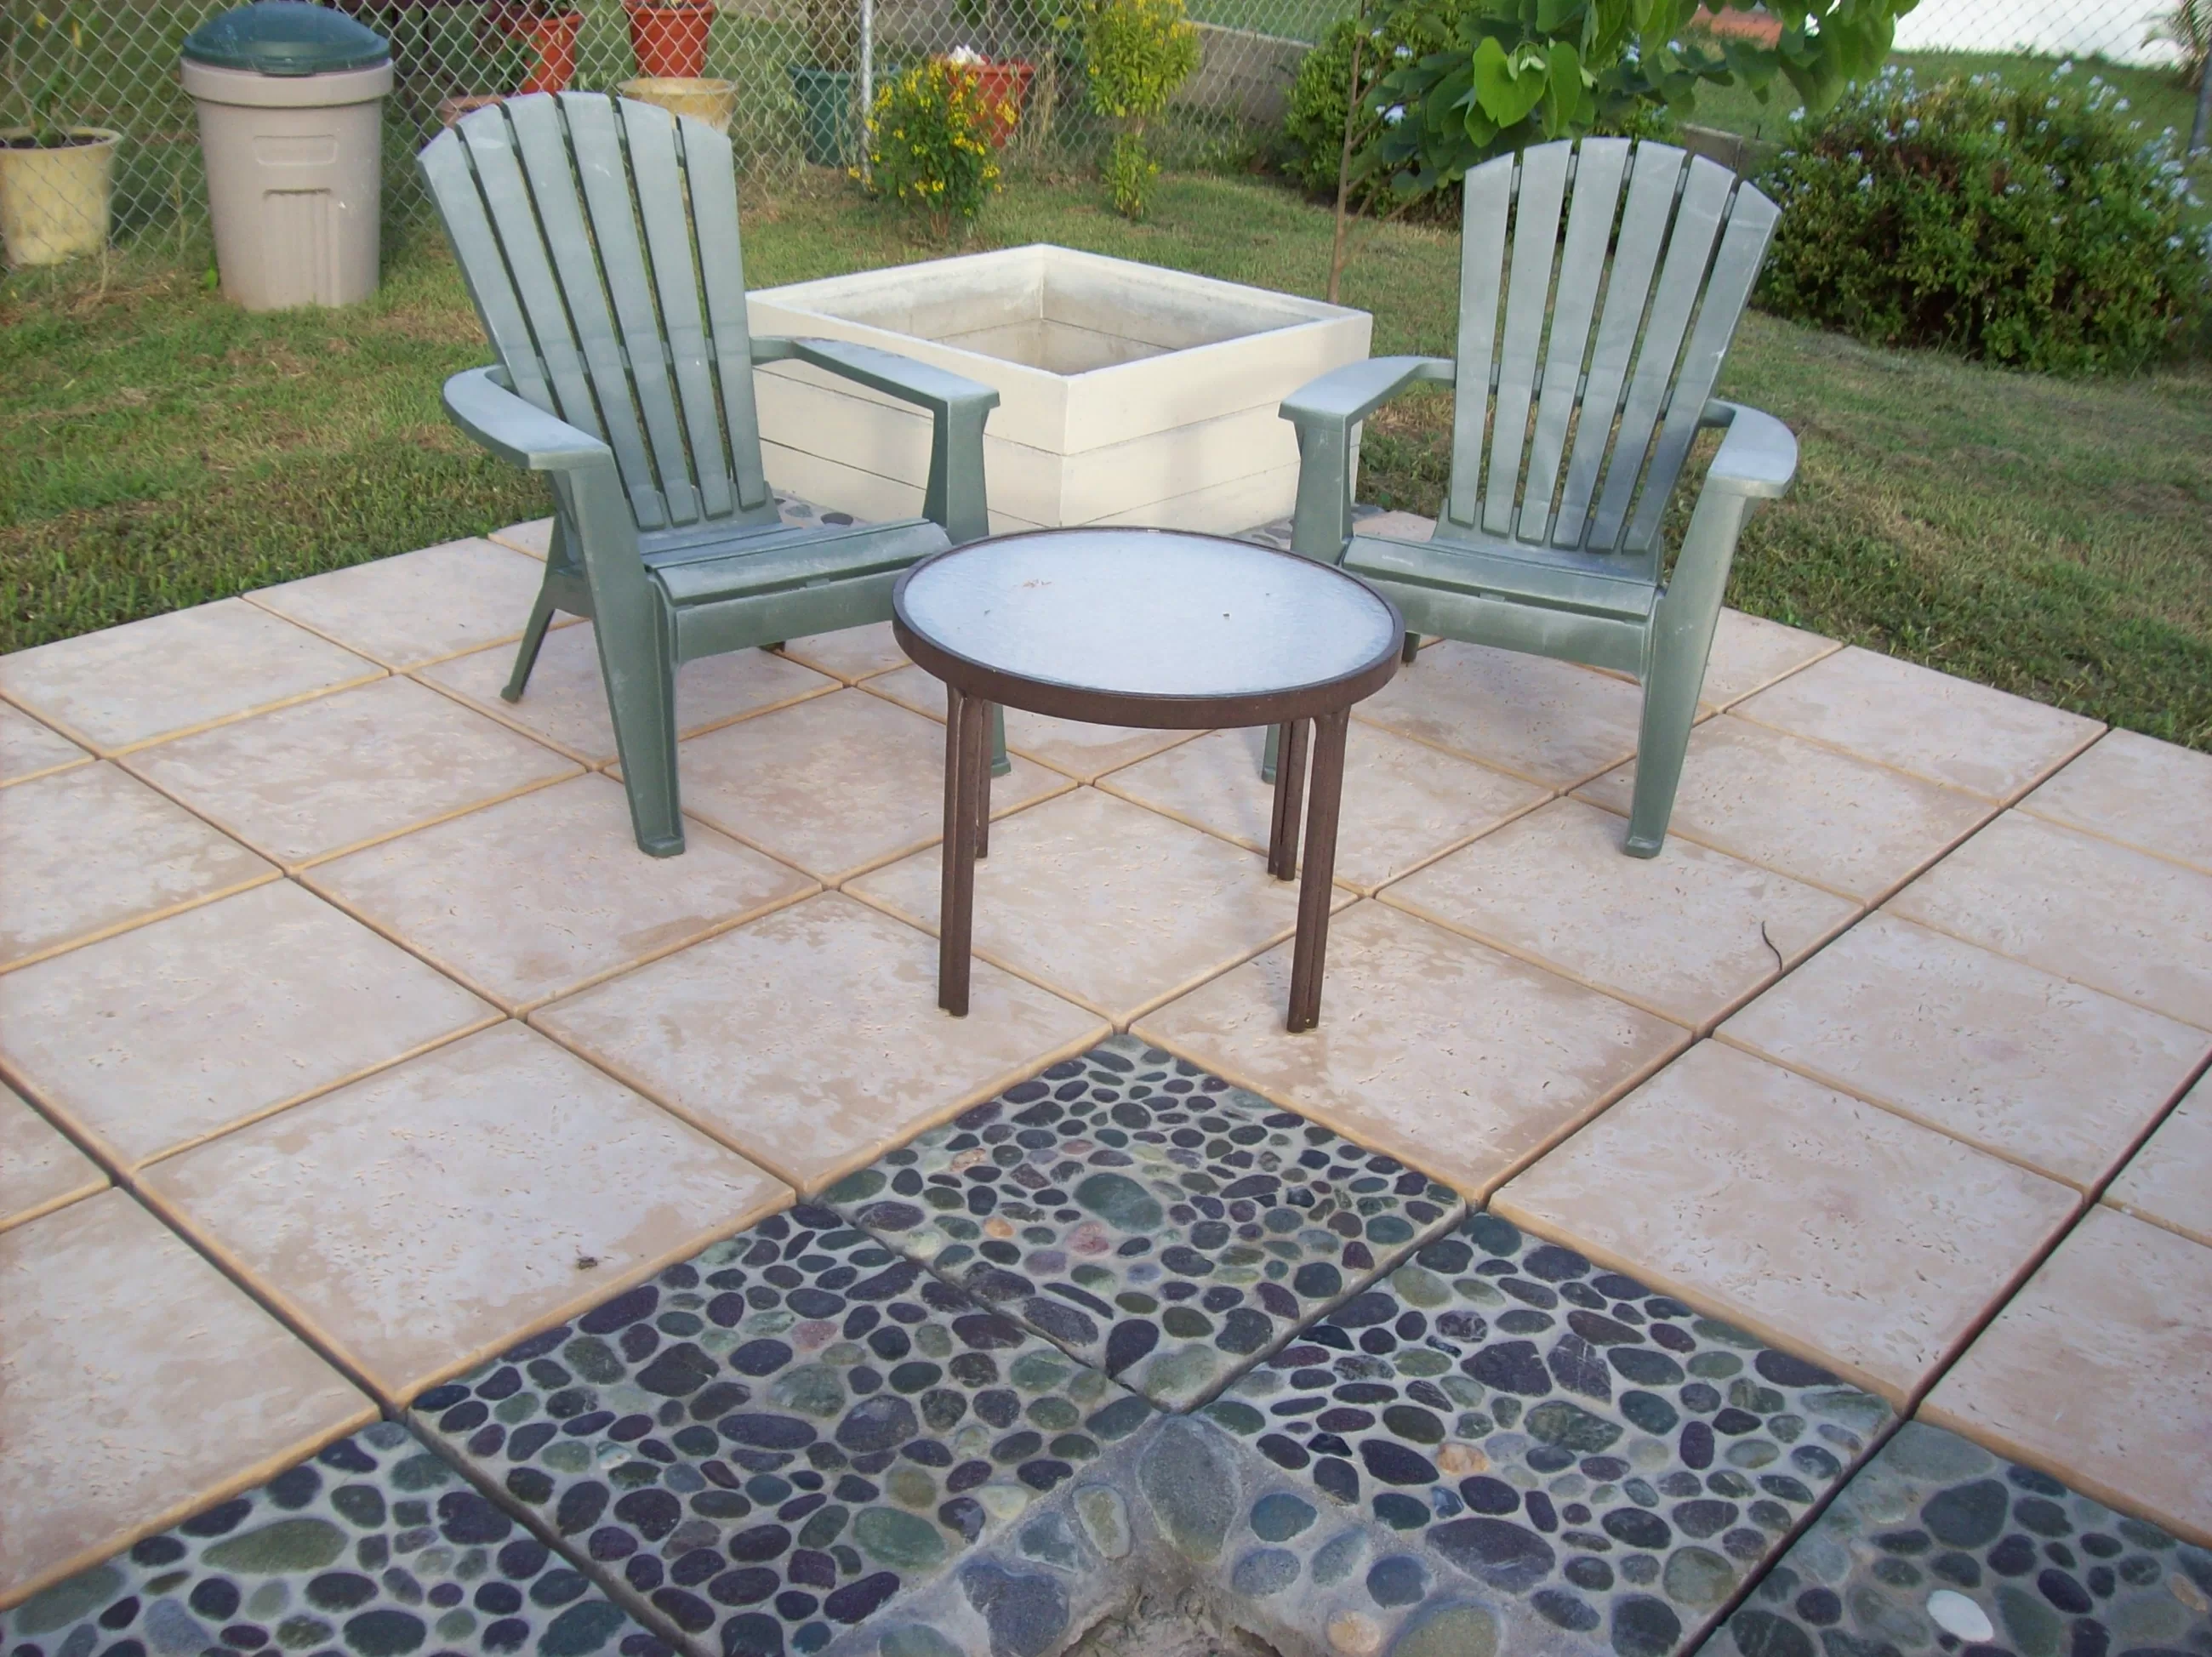
Installing 2" thick tile without a slab
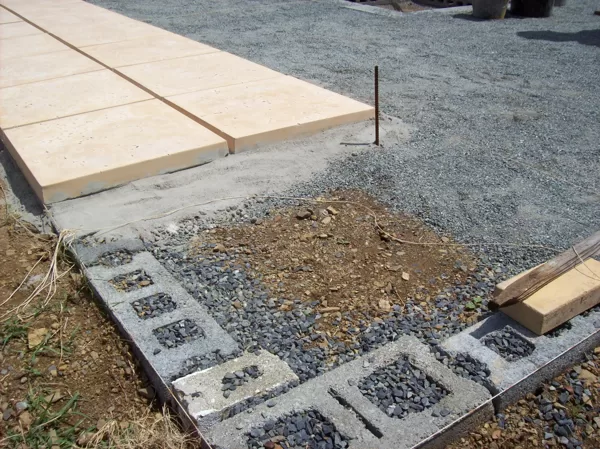
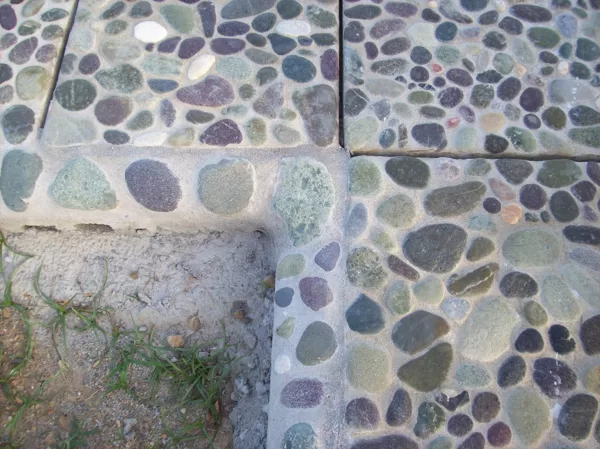
Prepare the ground by enclosing the patio area with 6" blocks. These
blocks may need rebar driven into the cells for stability. Thoroughly
tamp the dirt within the area and top with manufactured sand to within 2"
of the bottom of the tile. Fill the rest of the underlayment with a
mixture of dry manufactured sand and cement (20% cement). Screed this topping
level. Stretch strings to align one edge of the tile.
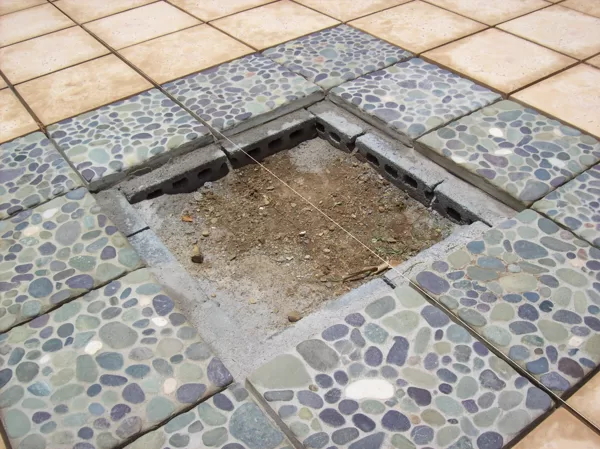
Thoroughly tamp the underlayment for the tile. This patio has a planter in each corner, and a firepit in the center. Place
the tile on top of the dry sand and cement. When all the tile have
been laid, soak the area thoroughly with water and stay off the tile for
a couple of days. Seal the dry tile with a siloxane sealer. Grout the
seams with a grout colored the same as the tile. Seal the entire patio
once again thoroughly, and re-seal as necessary.
